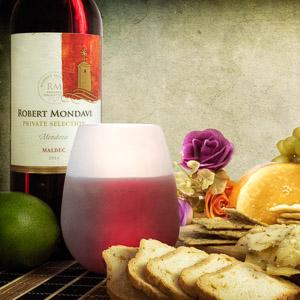
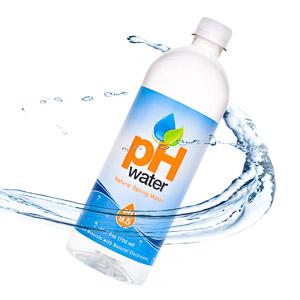
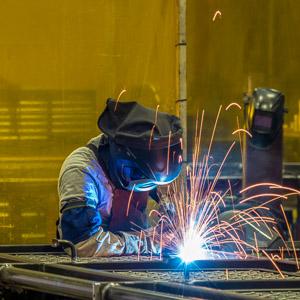
All images come with basic post production work included (exposure, contrast, sharpening, etc). However, some projects may require additional higher end services. Below are the most common post production services requested.
Image Clipping (background extraction)
One of the most common practices in commercial product photography is to extract an image from its original background and onto a transparent background (known as “Clipping” an image). The purpose of this is to allow you to integrate or composite the image into / on top of, other images.
This is particularly useful for webmasters and graphic designers who are developing marketing materials or websites.
Useful Notes:
- Pretty much required for any images to be used in web design or marketing materials unless it’s a full page or bordered image (eg: you want it to look rectangular).
- Clipping can be done at any time. So if you have images taken in the past, they can still be clipped now.
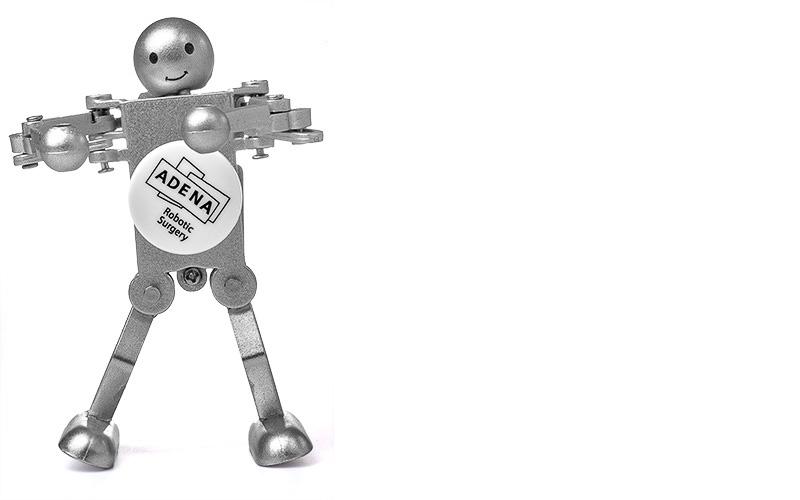
Move the image divider back / forth to see “before and after” images..
Touch-up Work
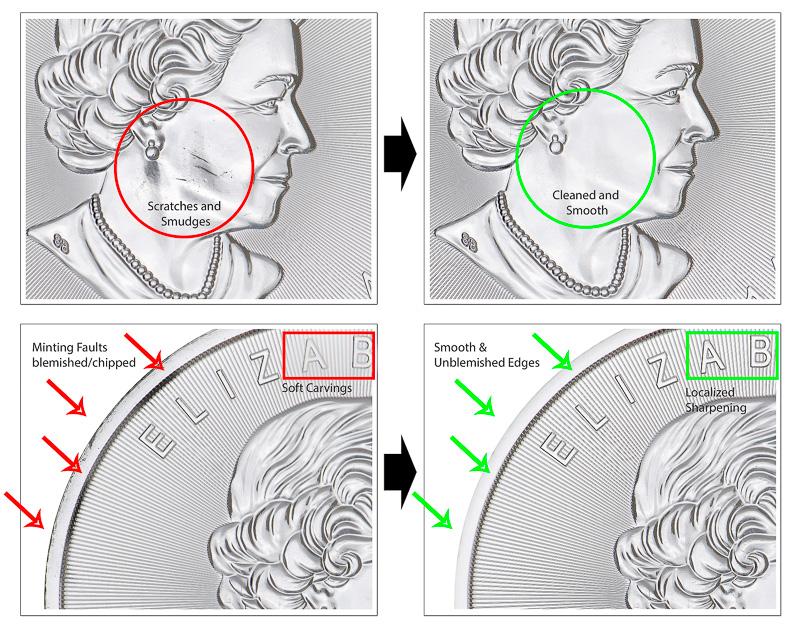
Most clients are not aware of just how “imperfect” their products are. Why? Because they have never seen their product as close up and detailed as they will in a quality product photograph.
Major/obvious imperfections in a product are often fixed free of charge, but the discerning client will want even the smallest issues fixed.
Imperfections include things like chips, scratches, smudges, molding seams and more. Additionally most products arrive with a great deal of dust, fibers and smudges on them. While we do give products a quick clean it’s not possible to remove much of this material that is not even visible until it becomes an enlarged image.
Useful Notes:
- As you can see in this shot. Even mint collector coins have a lot of imperfections if you take a good look up close.
Enhancement Highlighting
Enhanced highlights is the creation of highlights and gradients where there were none. This technique is often used to make reflective objects look smoother and “cooler”.
Useful Notes:
- Pay attention to the glass lenses and the highlights along the ear pieces.
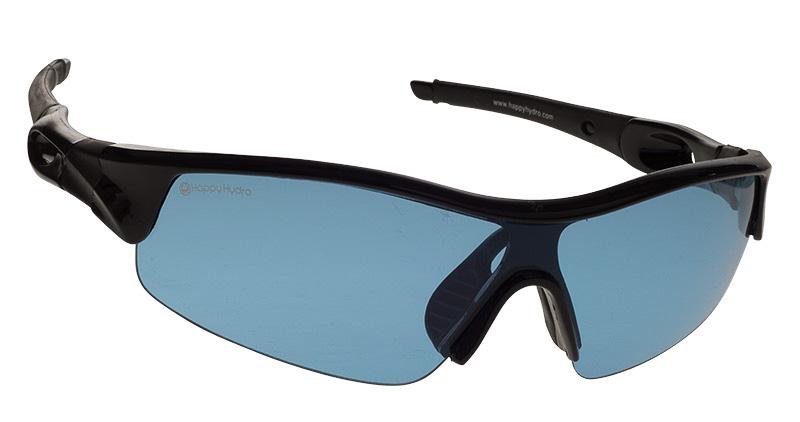
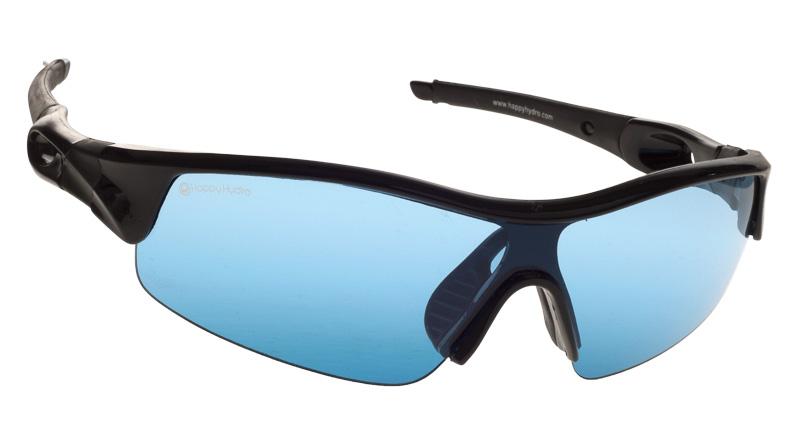
Move the image divider back / forth to see “before and after” images..
Advertisement Layouts
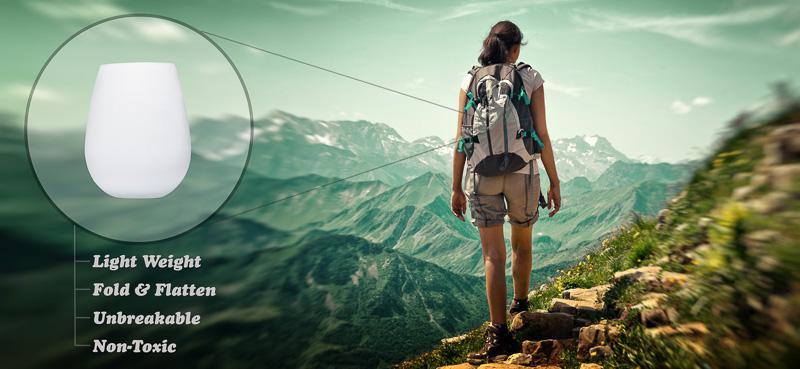
Product photography is not always a stand alone item. Often a product is better marketed when integrated with environment, graphics and/or textual information. These additional cues helps the viewer better understand the product’s purpose and often provides a real world connection to the potential buyer.
Useful Notes:
- In the example to the right we were able to save the client a great deal of money by simply using stock imagery along with the product and graphics to get our point across. Had we tried to create a “backpacking” environmental” from scratch the price would have far exceeded the client’s budget.
- The graphics and text provided necessary information about how the silicon cup can be used, where as a simple product shot (as shown in the circle) of the cup would not have worked by itself to educate the customer.
Graphics Composite
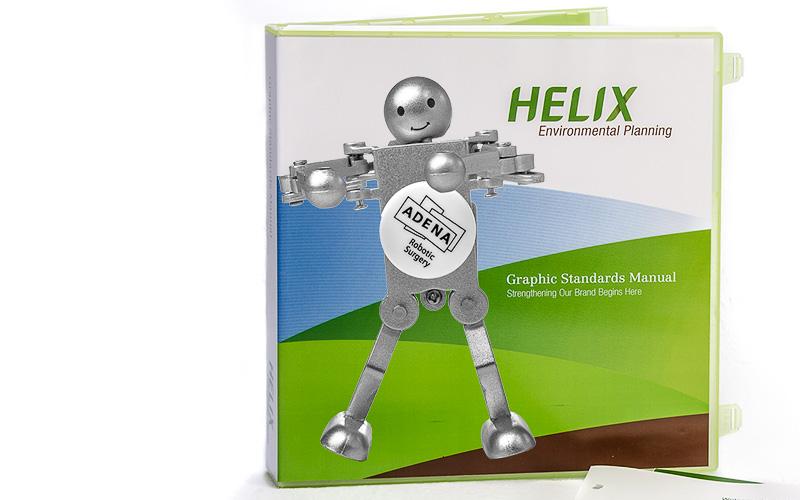
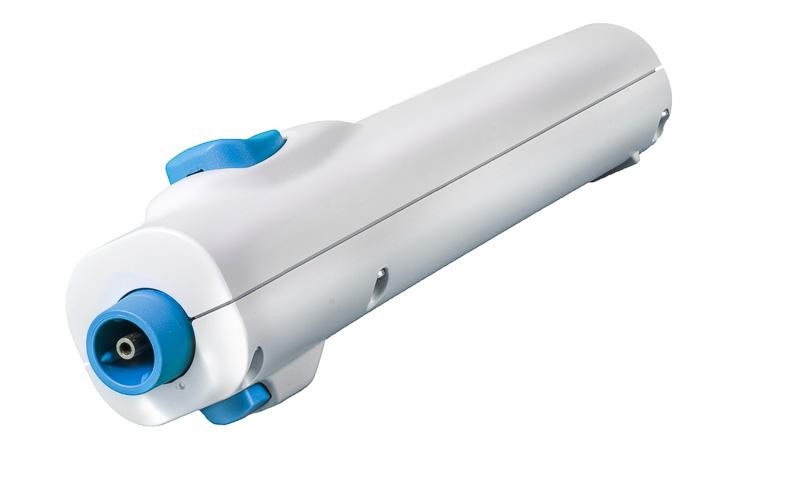
You may wish to enhance your product with graphics or logos that do not actually exist on your product. This is particularly common when a client wants photos from a “pre-production” product to start marketing before the finished product is ready.
With a little bit of Photoshop magic we can easily turn your demo into a finished product.
Useful Notes:
- Works great with pre-production products.
- Also a great money saver when presenting to financial backers or team members. Instead of having many different versions of a product created, just have one “blank” created and we can make all the label variations you want in Photoshop.

Move the image divider back / forth to see “before and after” images..
Light Painting
While light painting itself is not a “post production” technique much of the work involved in creating a good light painting image is done in post.
Light painting involves photographing products in the dark using very long exposures and modified handheld lighting.
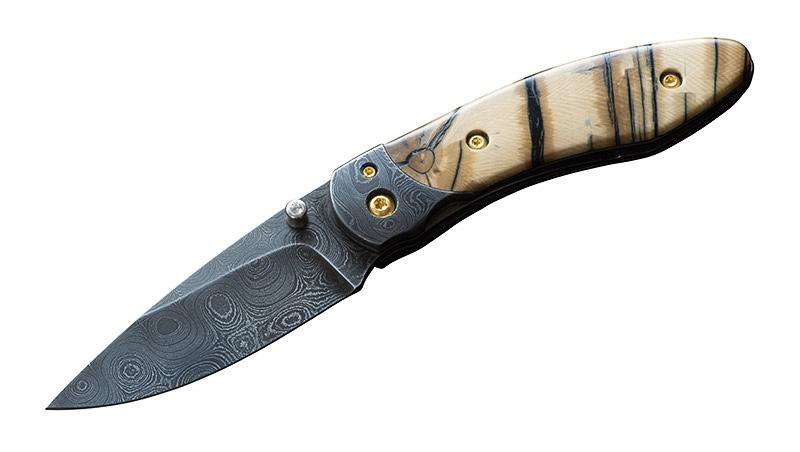
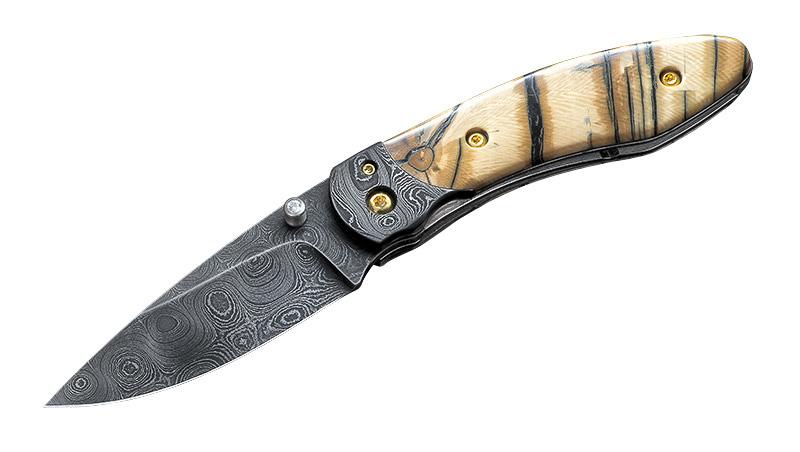
The purpose of light painting is to produce images with lighting that cannot be created in the “real world”. This allows you to create unique totally different lighting on separate areas of the same object.
Useful Notes:
- Light painting techniques were used on this knife in order to get perfect reflections and specular highlight on the many different surfaces.
- Pay attention to how the lighting is perfect on the edge of the blade vs the side of the blade. The edges of the handle and the body of the handle are lit very differently. You can even see different lighting on the rivets within the handle.
- This technique is very time consuming but worth the effort for high end products.
Move the image divider back / forth to see “before and after” images.
Distressed Texturing
Distressed texturing is a technique that allows us to turn images into a unique stylized image resembling a painting. This is not a filter and no two version will ever turn out the same. This option is only suitable for “hero” shots as opposed to standard web imagery or catalogs.
Useful Notes:
- Distressed photography not only looks really cool and ads a unique style to your imagery, but for specific types of products it works very well to create a “digital environment”.
- This miniature is only 3 inches tall. To produce a street environment on set would be costly and time consuming. However use of distressed textures along with some creative compositing turns a relatively boring image into a real marketing tool.
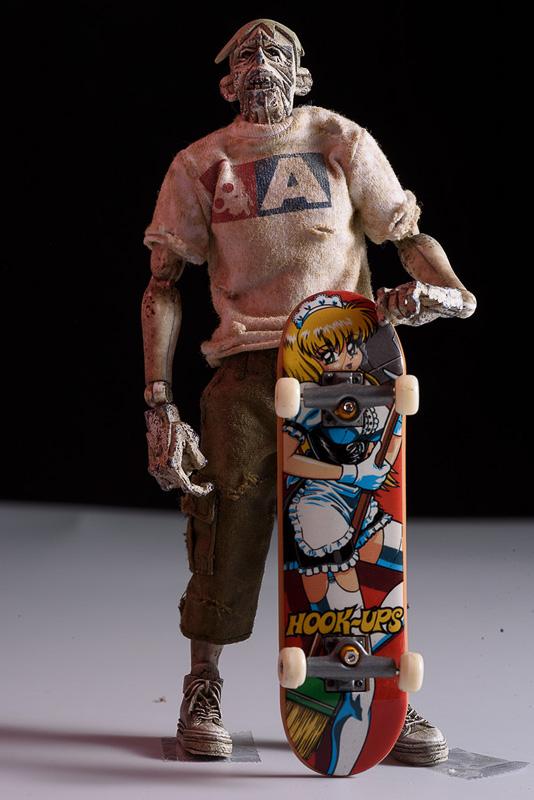
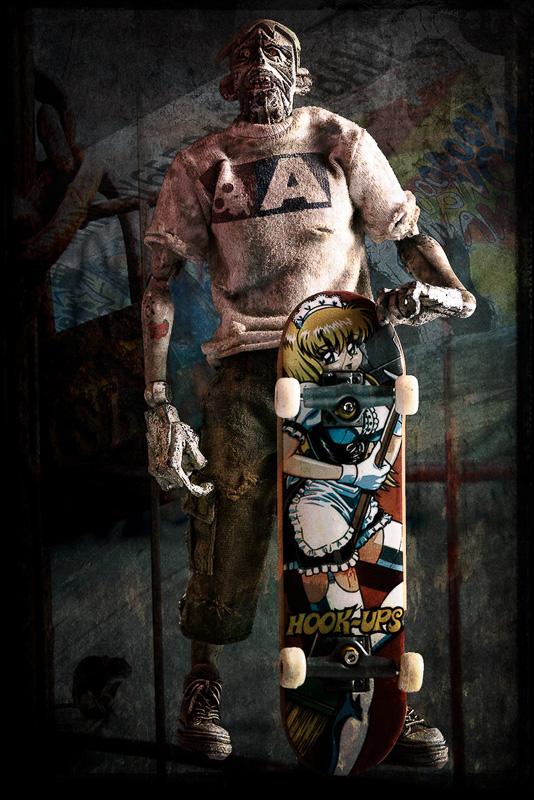
Move the image divider back / forth to see “before and after” images.
